


Rocker T Builder Series – Mini Helmet Padding Installation Kit – Double-Sided Tape
Couldn't load pickup availability
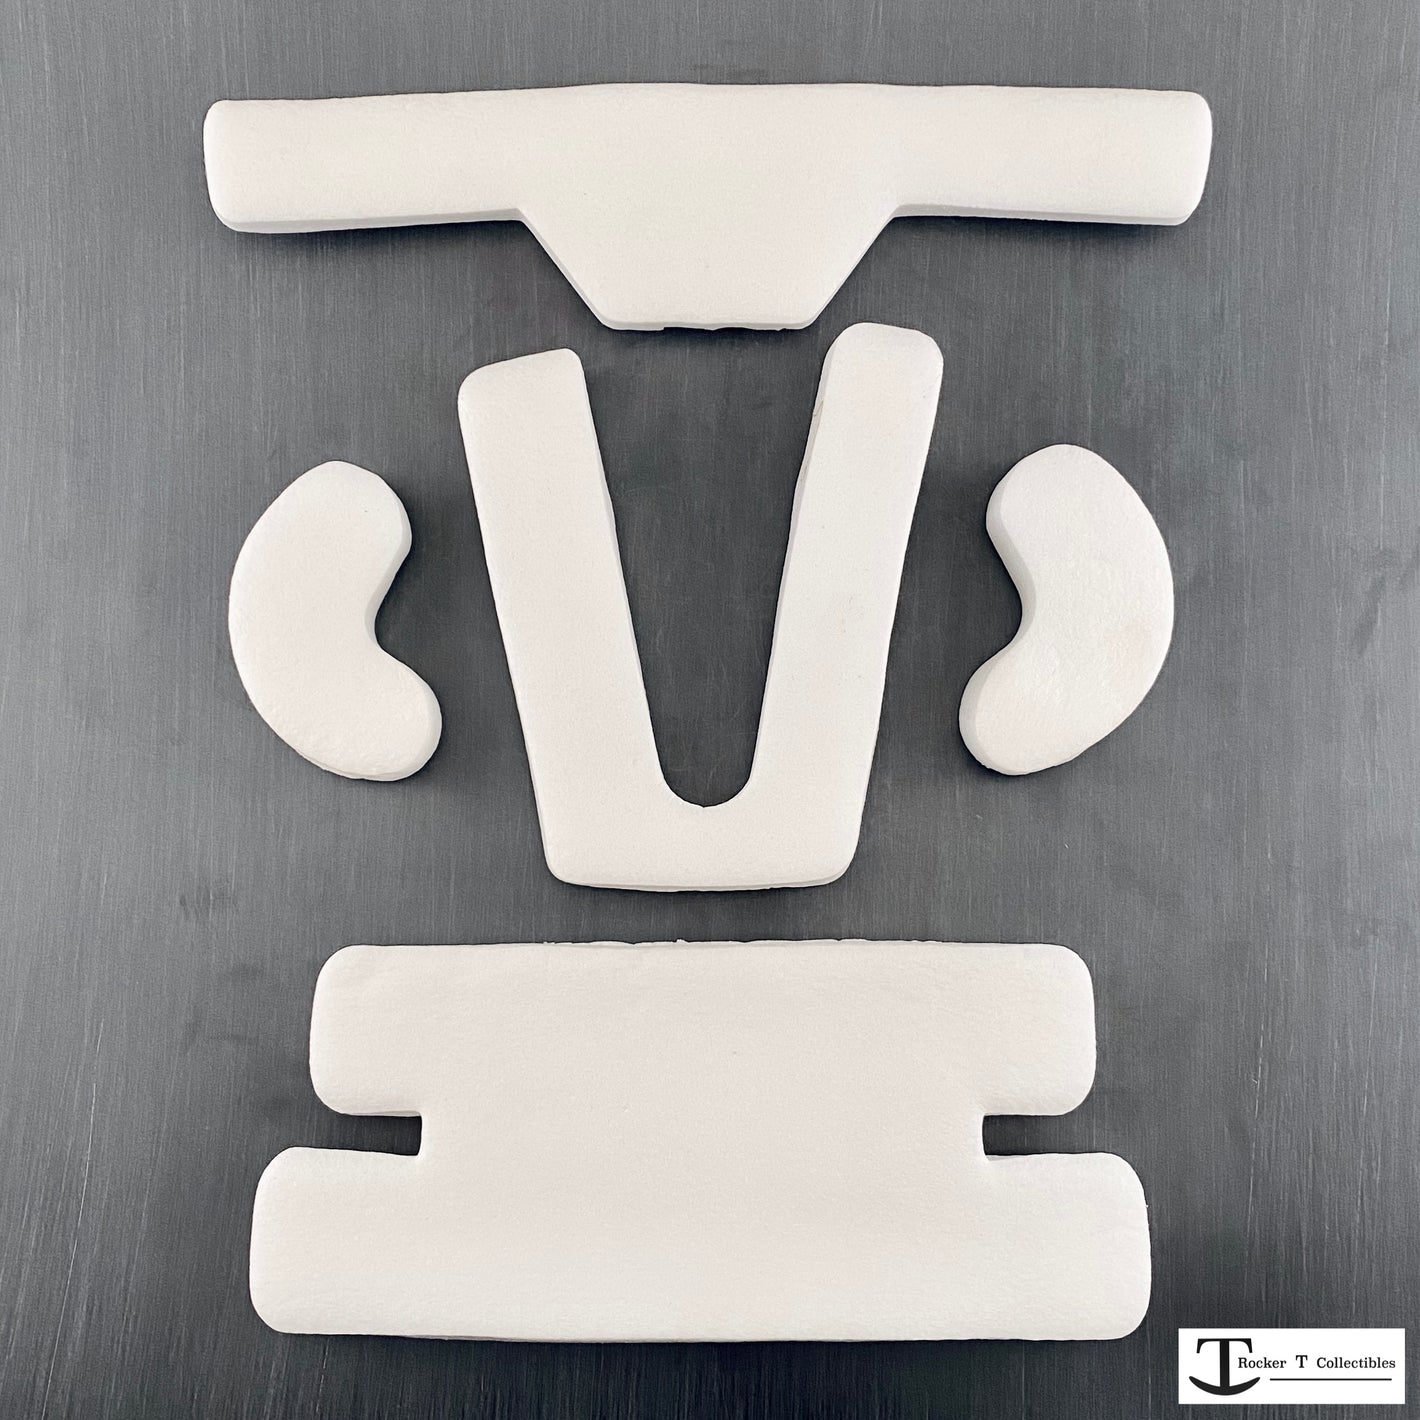
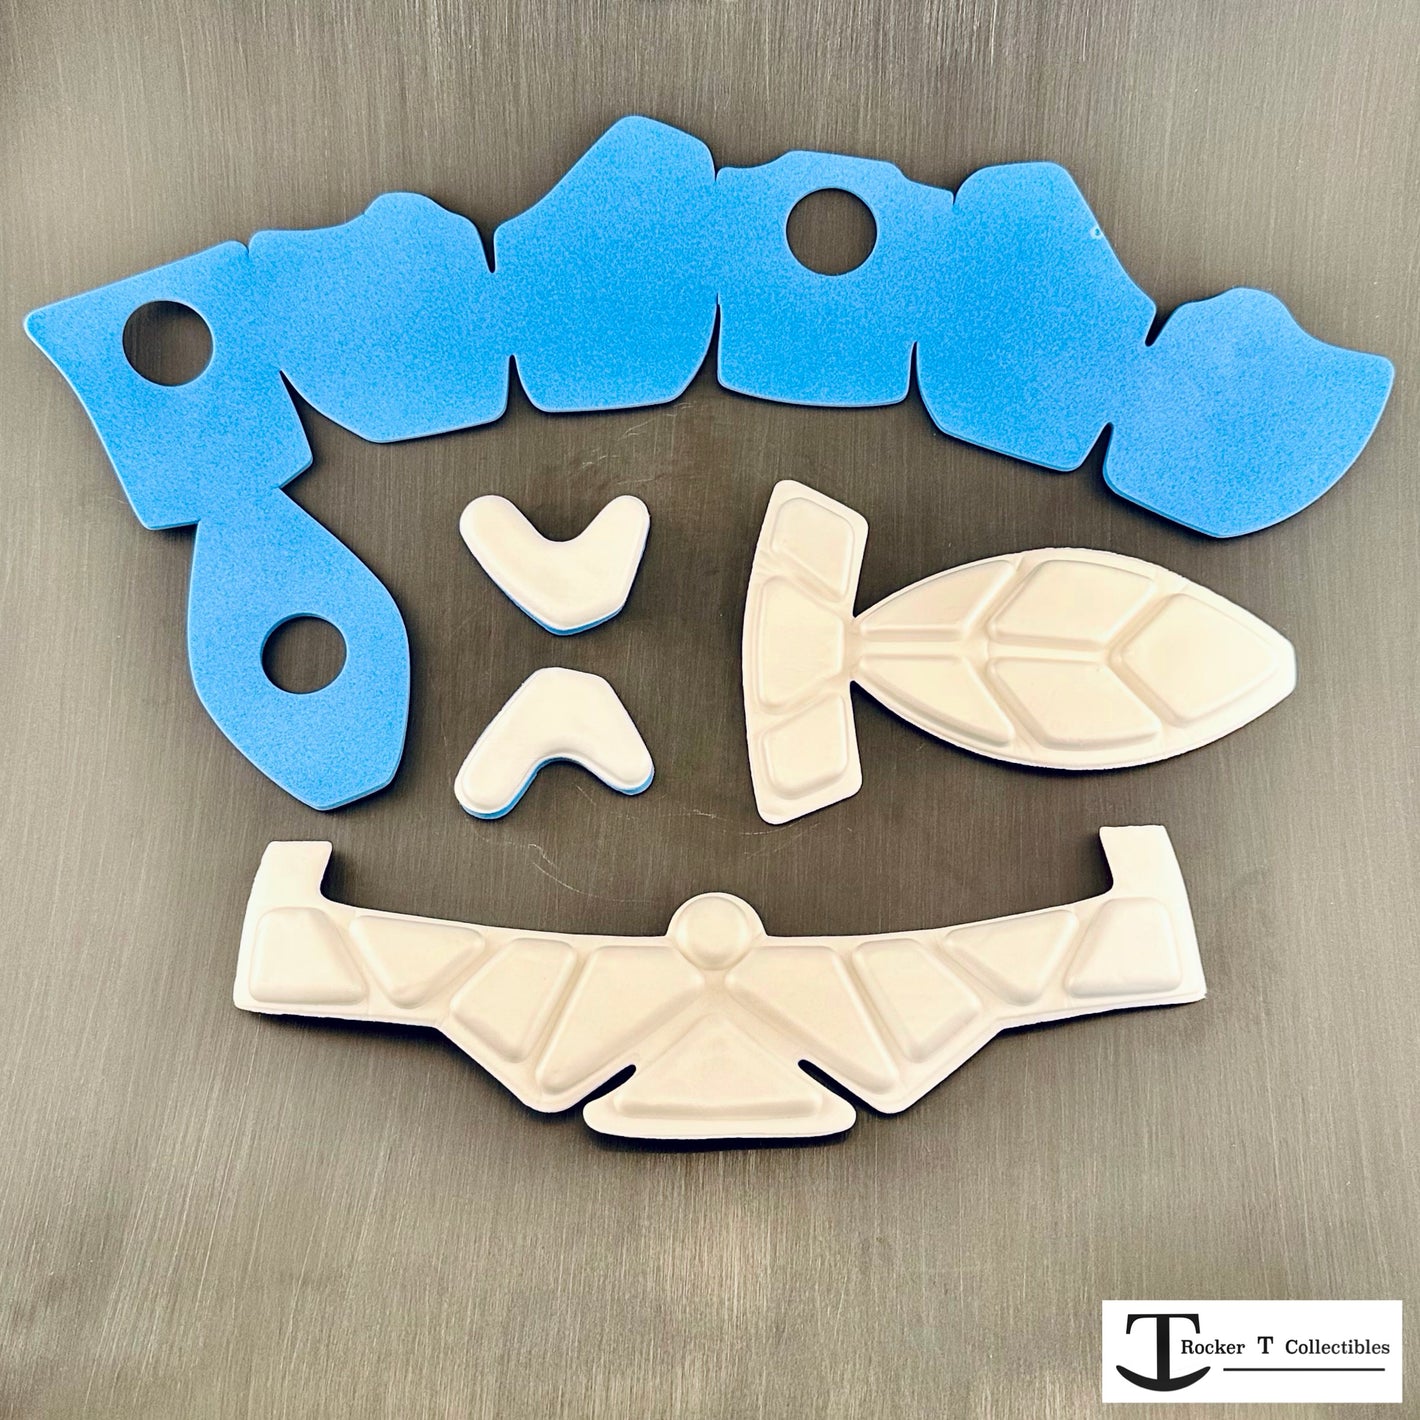

Rocker T Builder Series – Mini Helmet Padding Installation Kit – Double-Sided Tape
Whether you're building a custom mini helmet, restoring a prized collectible, or replacing worn interior padding, the Rocker T Builder Series Double-Sided Tape Padding Installation Kit provides a clean, convenient alternative to traditional liquid adhesives.
Designed for collectors and builders, this complete installation kit makes it easy to install new padding or secure loose pads without the mess of glue. The included padding clamps and protectors help hold everything securely in place while the tape develops its adhesive bond.
Thinking About Starting Your Own Mini Helmet Project?
Installing interior padding doesn't have to involve messy glue! Our Double-Sided Tape Padding Installation Kit makes it easier to tackle that stripped shell project you've been considering. Pick out your shell, grab your padding, and start building!
Kit Includes
-
45 Feet of Mini Helmet Padding Tape – Double-sided adhesive tape for installing new padding or securing loose pads.
-
2 Padding Clamps – Hold padding firmly against the helmet shell while the adhesive bonds.
-
4 Padding Protectors – Help distribute clamping pressure and prevent unwanted impressions in the padding.
Features & Benefits
-
No Messy Glue – Install padding without liquid adhesives, brushes, or spreading tools.
-
Strong Adhesive Bond – Pressure-sensitive tape provides reliable adhesion when properly applied.
-
Great for Spot Repairs – Secure loose padding without removing the entire pad.
-
Protects Your Padding – Included padding protectors help prevent clamp marks and indentations.
-
Reusable Installation Tools – Keep the clamps and protectors for future builds and repairs.
-
Perfect for DIY Projects – Ideal for stripped shells, custom builds, restorations, and 3D-printed mini helmets.
Installation Instructions
-
Apply Tape: Apply strips of double-sided tape to the back of the padding. Press firmly to secure.
-
Remove Backing: Carefully peel away the protective backing from the tape.
-
Position & Clamp: Position the padding inside the helmet. Use the included clamps and padding protectors to hold it firmly in place.
-
Allow Bonding Time: Keep the padding clamped firmly in place for approximately 15 minutes before removing the clamps and moving to the next pad.
For Spot Repairs: Apply a small piece of tape to loose padding and clamp in place to secure.
Important Installation Notes
For best results, ensure all surfaces are clean and dry before applying tape. Apply firm, even pressure during installation and allow sufficient bonding time before removing clamps. Adhesive bond strength continues to increase over time.
Please Note: This kit includes installation supplies only. Mini helmet shells and interior padding are sold separately.